Posing
Once you have a rigged and skinned character like Gus you can start playing with it as if it were a doll, moving its bones and looking at the results.
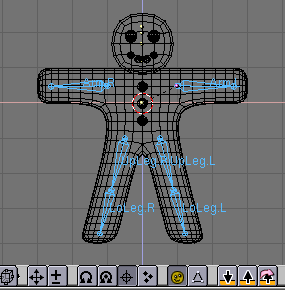
First, select the armature alone, then press the small button that looks like a yellow sleeping guy in the 3D Window toolbar (Figure 59). This button is there only if an armature is selected.
The button will turn "awake" (Figure 60) and the armature turn blue. You are in Pose Mode.
If you now select a bone it will turn Cyan, not Pink, and if you move it (GKEY), or rotate it (RKEY), the body will deform!
 | Original position |
|---|---|
Blender remembers the original position of the bones, you can set your armature back to it by pressing the RestPos button in the Armature Edit Buttons (Figure 52 in the Section called Rigging). |
 | Forward and Inverse Kinematics |
|---|---|
Handling bones in pose mode you will notice that they act as rigid, unextensible bodies with spherical joints at the end. You can actually grab only the first bone of a chain, all the other follows, but you can rotate any of them, and all teh subsequent bones of the chain follows. This procedure, called Forward Kinematics is easy to handle but makes precise location of the last bone of the chain difficult. It is possible to use another method, called inverse kinematics where is the location of a special bone, usually at the end of the chain, to determine the position of all the others, hence making precise positioning of the hands and feet much easier. |
Now we want Gus to walk. We will do so by defining four different poses relative to four different stages of a stride. Blender will take care of making a fluid animation by itself.
First verify that you are at frame 1 of the timeline. The frame number is in a NumBut in the far right of the Buttons Window Toolbar (Figure 61). If it is not at 1, set it to 1.
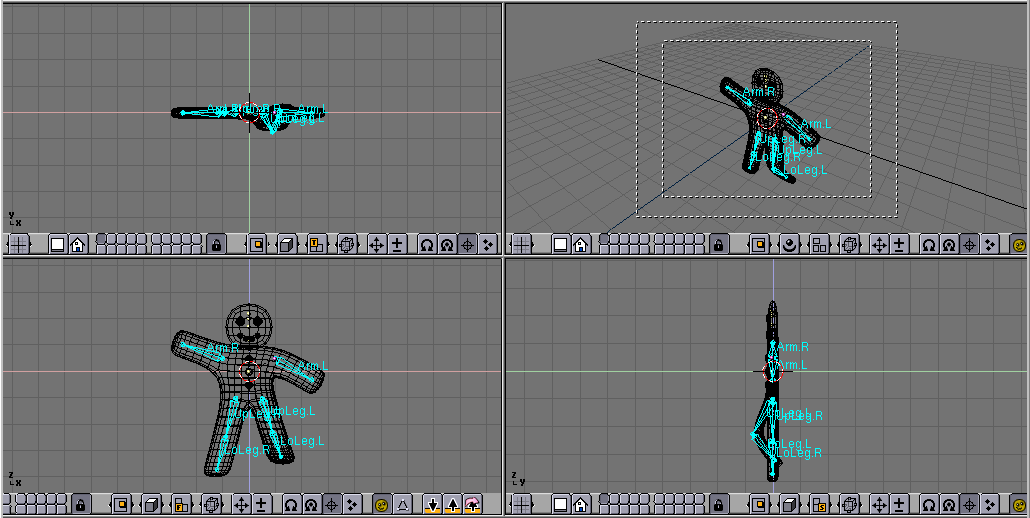
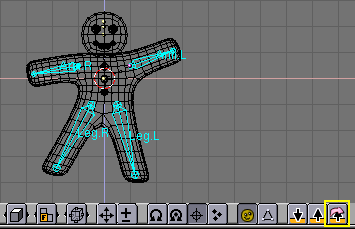
Now, by using only rotations on one bone at a time (RKEY), let's raise UpLeg.L and bend LoLeg.L backwards. Raise Arm.R a little and lower Arm.L a little, as in Figure 62.
Select all bones with AKEY. With the mouse pointer on the 3D Window press IKEY . A menu pops up Figure 63. Select LocRot This will get the position and orientation of all bones and store it in a pose at frame 1.
This pose represents Gus in the middle of the stride, while he is moving the left leg forward, which is above the ground.
Now move to Frame 11 either by entering the number in the NumButton or by pressing UPARROW
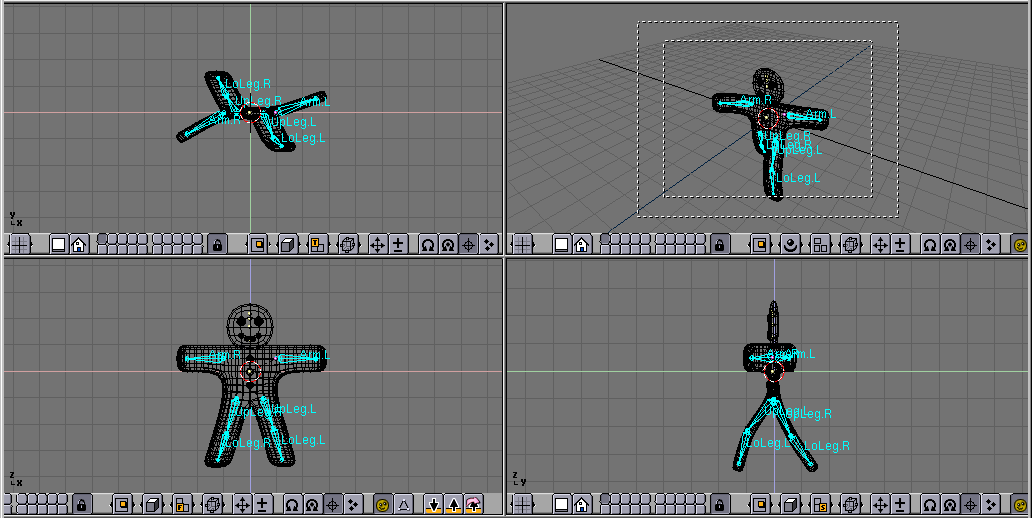
Move Gus to a different position, akin to Figure 64, with the left leg forward and the right leg backward, both slightly blended. Please note that Gus is walking in place!
Select again all bones and press IKEY to store this pose at frame 11.
We now need a third pose at frame 21, with the right leg up as we are in the middle of the other half of the stride.
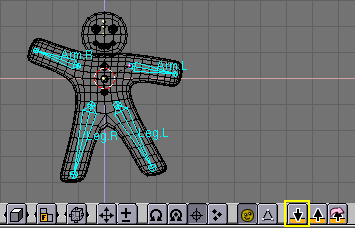
This pose is actually the mirror-pose of the one we defined at frame 1 so, go back to frame 1 and locate the button with an arrow pointing down in the 3DWindow toolbar (Figure 65); press it.
You have copied the current pose to the buffer. Go to frame 21 and paste the pose with the up arrow button with a pink arrow around it (Figure 66). This button will paste the cut pose exchanging the positions of bones with suffix .L with those of bones with suffix .R effectively flipping it!
Pay attention! The pose is there but it has not been stored yet! You still have to press IKEY with all bones selected.
Now apply the same procedure to copy the pose at frame 11 to frame 31, again flipping it.
To complete the cycle the pose at frame 1 needs to be copied, without flipping to frame 41. You do so by copying it as usual, and by using the button with the arrow pointing up without the pink arrow to paste. End the sequence storing the pose with IKEY.
 | Checking the animation |
|---|---|
You can have a quick preview of your animation by setting the current frame to 1 and pressing Alt-A in the 3D window. |

