 |
|||||||||||||
| News | Tutorials | Games | Downloads | Links | Contact | ||||||||
 |
 |
|
 |
|||||||||||||||||
Featured Author: -Dim- |
Tutorials - The GIMP
Making Good Ripped and Worn Fabricby DIMPrerequisites A good handle on Blender and its game engine mechanics (texturing specifically) Knowledge of the locations of certain tools in the GIMP Preamble: Cloth has always been a very hard thing to make in a game. After many hours of experimentation, I came up with a good way to make ripped, coarse linen or other rough fabrics. This tutorial is aimed at people who are relatively new to the Blender and the GIMP, though it should be very helpful for advanced users as well. Note that I will show all the steps I took to make the cloth, but feel free to deviate at any point you feel comfortable doing so, or if you have another, better method. Note that I will not be covering how to apply textures in Blender, you’ll need to know that ahead of time. Note that you may use other programs (such as Photoshop) to do the same things, but I will be writing this tutorial using GIMP and Blender. Beginning: Now that that’s out of the way, here we go. Start up the GIMP, then select File>New (ctrl + N). Under image size, enter 512 for both values, and begin. You should now have a blank canvas to work with, titled “Untitled”. Let’s change that. Select File>Save (ctrl + S) in the document window. Enter the following:
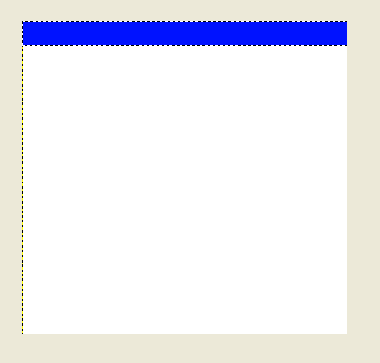
We’ll save it to the desktop for ease of access (this is only a test file). Next select the Selection tool (R Key) and select a nice blue. Select a rectangular section of your canvas (make sure it stretches all the way from one side to the other), it should be about 40 pixels wide, about the thickness of one of our stripes. Select the Fill (Shift + B) tool and click within the selected area, it should fill with a nice blue. It should look like this (but bigger):
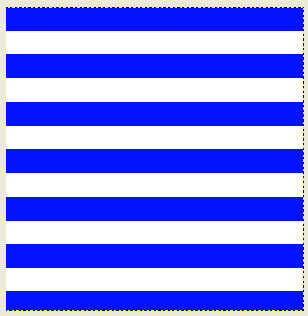
Next, select Edit>Copy (ctrl + C), then Edit>Paste (ctrl + V). The screen shouldn’t change much, but you’ve pasted another blue stripe onto your picture. Select it and drag it down about 40 pixels (if it won’t let you select it, make sure you have the selection tool active, not the fill tool). Repeat this several times and fill your canvas with blue stripes.
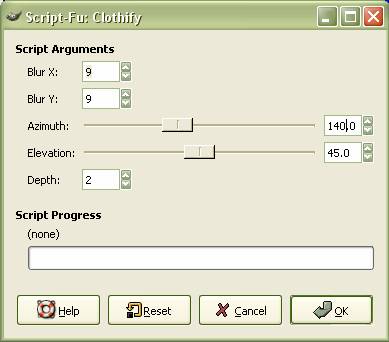
Ok, now we have the basic pattern for our cloth, but it doesn’t really look like cloth. To fix this, we go to Script-Fu>Alchemy>Clothify in the document window, and enter the following settings:
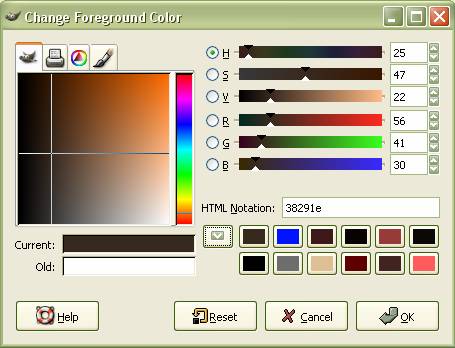
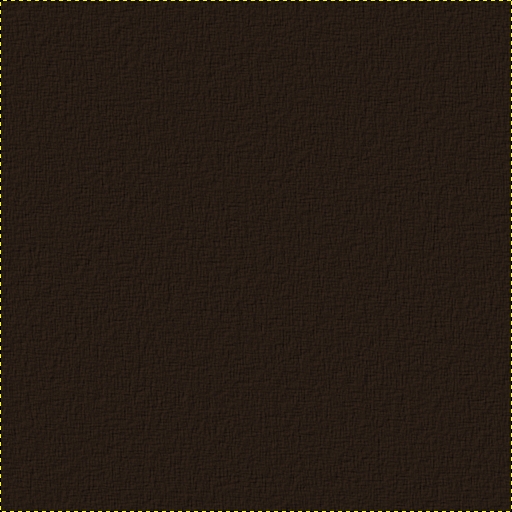
(Side note: I prefer the Apply Canvas Filter in Project Dogwaffle to the GIMP’s script personally, so if you have Dogwaffle, you may wish to use it.) So now our clothes look a little more cloth like, but it looks very new and unused, not very interesting right now. To fix this, go to Layer>New Layer and add two more transparent layers, one named Dirt, and the other named Skin. In the layer named Dirt, fill the entire thing with a nice dark brown (with the Fill tool) and then run the Clothify script again, so it has some nice texture. Use the same settings we used before. Something like this:
Open the Layers Dialogue with Dialogues>Layers (ctrl + L), and select the Skin layer. Next, get a nice flesh tone, and fill the entire area with it. Right now, all you should be able to see, is the flesh tone, that’s ok. This is how we’ll fix it: Select the layer with your blue striped cloth (it should be called Background), and go to Layer>Transparency>Add Alpha Channel. Then, in the layers dialogue, select the Dirt layer and shift + click the down-arrow at the bottom of the screen. This should bring the layer to the bottom. Do the same with the Skin the order should now be Background, Dirt, Skin. Like so:
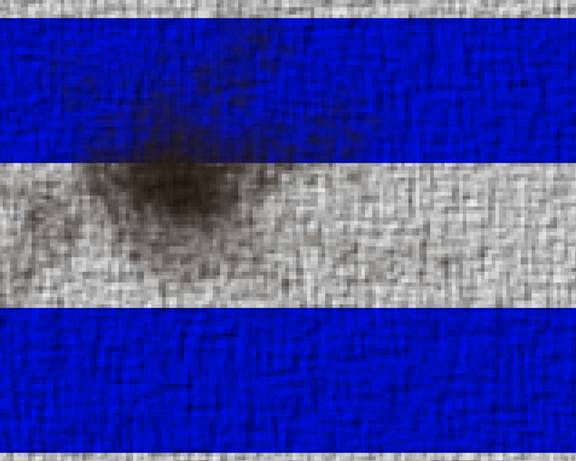
Now select the Background layer again. Next select the Eraser tool, and set the opacity value to around 50. Select the Small Galaxy brush and click around in a small area for a while. Make it look like a stain. In one part of it, make it totally transparent (if you have to, select another more solid brush to make it completely transparent). It should end up looking like this:
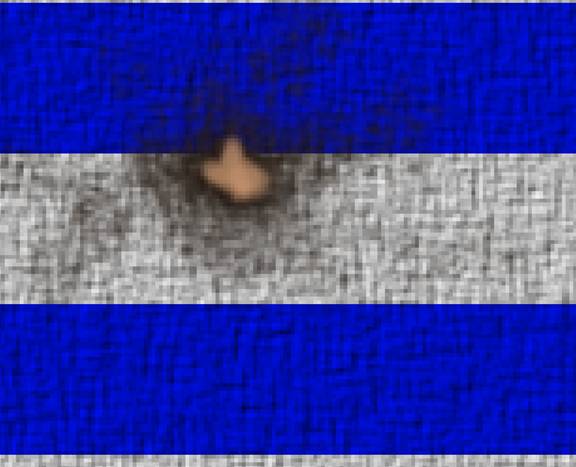
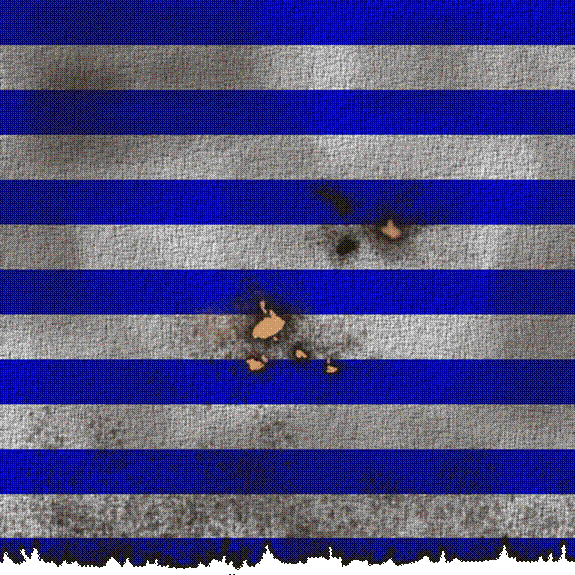
Next, with your Eraser still selected, select the Circle Fuzzy (7) (7 x 7) brush to 75 opacity, switch to the Dirt layer in the Layer dialogue. Next, Erase some of the Dirt layer only where you erased completely from the Background layer. It should end up looking like this:
Just keep doing this over and over again experimenting with different brushes. Add blood stains or other things for the in game model. Hope this tutorial helps you to break the ice with your 2D skills, as I wrote it to do that as much as teach how to make good, old cloth. Here’s the product after several minutes:
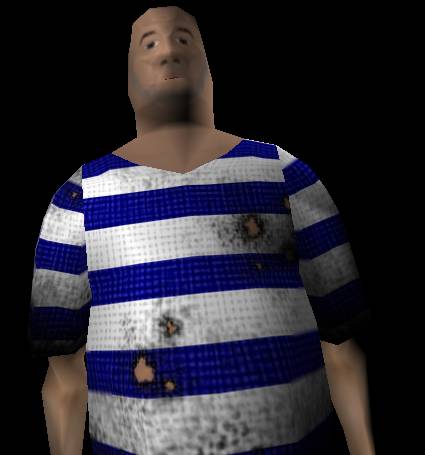
And on a model:
Enjoy. -DIM Back to the tutorials index... |
||||||||||||||||
|
|
|||||||||||||||||
|
|||||||||||||||||

Website design by Tony "blendenzo" DiRienzo. All content © Copyright Tony DiRienzo unless otherwise noted.