The Unified Renderer
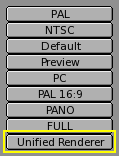
A less well known feature of Blender is the Unified Renderer button in the bottom right corner of the Rendering Buttons (Figure 36).
Blender's default renderer is highly optimized for speed. This has been achieved by subdividing the rendering process into several passes. First the 'normal' materials are handled. Then Materials with transparency (Alpha) are taken into account. Finally Halos and flares are added.
This is fast, but can lead to less than optimum results, especially with Halos. The Unified Renderer, on the other hand, renders the image in a single pass. This is slower, but gives better results, especially for Halos.
Furthermore, since transparent materials are now rendered together with the conventional ones, Cartoon Edges can be applied to them too, by pressing the All button in the Edge Setting dialog.
If the Unified Renderer is selected an additional group of buttons appears (Figure 37).
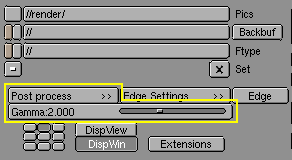
The Gamma slider is related to the OSA procedure. Pixel oversamples are blended to generate the final rendered pixel. The conventional renderer has a Gamma=1, but in the Unified Renderer you can vary this number.
The Post process button makes a dialog box appear (Figure 38). From this you can control three kinds of post processing: the Add slider defines a constant quantity to be added to the RGB colour value of each pixel. Positive values make the image uniformly brighter, negative uniformly darker.

The Mul slider defines a value by which all RGB values of all pixels are multiplied. Values greater than 1 make the image brighter, smaller than 1 make the image darker.
The Gamma slider does the standard gamma contrast correction of any paint program