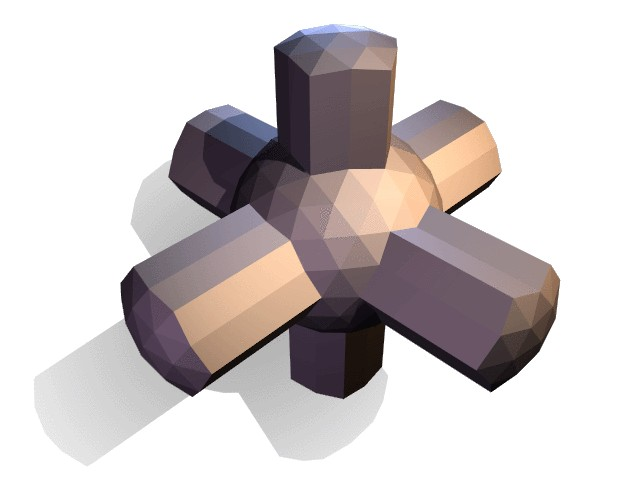
Smoothing
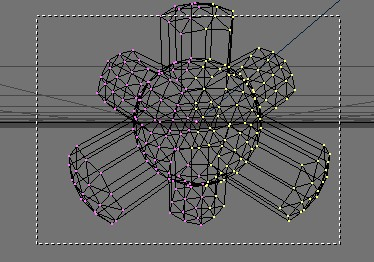
Most objects in Blender are represented by polygons.Ā In Blender, truly curved objects are often approximated by polygon meshes. When rendering images you may notice that these objects appear as a series of small flat facets. (Figure 7). Sometimes this is a desirable effect, but usually we want our objects to look nice and smooth. This section guides you through the steps of smoothing an object and applying the AutoSmooth filter to quickly and easily combine smooth and faceted polygons in the same object.
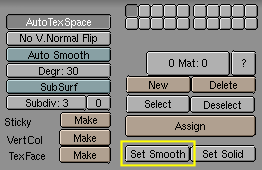
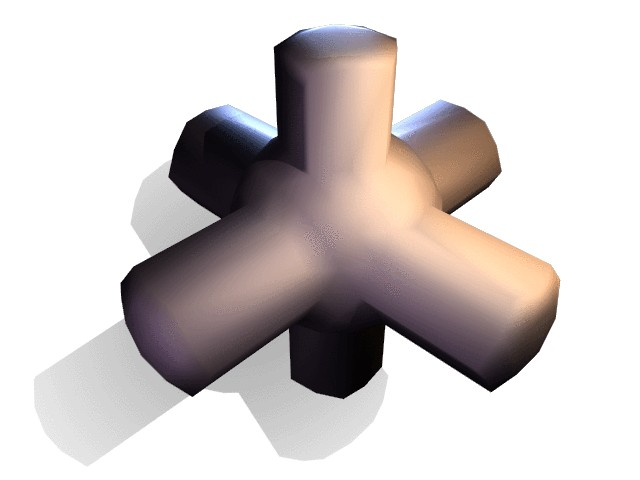
There are two ways of activating the face smoothing features of Blender. The easiest way is to set an entire object as smooth or faceted. This can be accomplished by selecting a mesh object, switching to the EditButtons window (F9) and clicking the Set Smooth button shown in Figure 8 You will notice that the button does not stay pressed, but Blender has assigned the "smoothing" attribute to each face in the mesh. Rendering an image with F12 should produce the image shown in Figure 9. Notice that the outline of the object is still strongly faceted. Activating the smoothing features doesn't actually modify the object's geometry. Instead it changes the way the shading is calculated across the surfaces, giving the illusion of a smooth surface.
Clicking the Set Solid button reverts the shading to that shown in Figure 7.
An alternate method of selecting which faces to smooth can be done by entering editmode for the object with TAB, selecting faces and clicking the Set Smooth button (Figure 10). When the mesh is in editmode, only faces that are selected will receive the "smoothing" attribute. You can set solid faces (removing the "smoothing" attribute) in the same way: by selecting faces and clicking the Set Solid button.
It can be difficult to create certain combinations of smooth and solid faces using the above techniques alone. Though there are workarounds (such as splitting off sets of faces by selecting them and pressing YKEY), there is an easier way to combine smooth and solid faces.
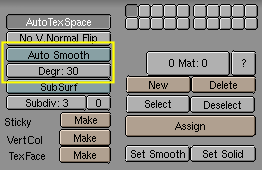
Pressing the AutoSmooth button in the EditButtons (Figure 11) causes Blender to decide which faces should be smoothed and which ones shouldn't, based on the angle between faces (Figure 12). Angles on the model that are sharper than the angle specified in the "Degr" NumBut will not be smoothed. You can change this value to adjust the amount of smoothing that occurs in your model. Higher values will produce more smoothed faces, while the lowest setting will look identical to a mesh that has been set completely solid.
Only faces that have been been set as smooth will be affected by the AutoSmooth feature. A mesh, or any faces that have been set as solid will not change their shading when AutoSmooth is activated. This allows you extra control over which faces will be smoothed and which ones won't by overriding the decisions made by the AutoSmooth algorithm.